
USING RAILWAY APP TO DEPLOY YOUR DJANGO PROJECT

 Alright guys, at the end of this article I hope you should be able to deploy your first Django project on Railway app.

Railway app is a cloud platform that gives you simple configured free deploys, removing common developer hurdles with zero CLI, just to add as bragging rights it has a faster build time than Heroku, interestingly I discovered it while I was having issues deploying my project to Heroku check here to see how I did that.

All you need to get started is your GitHub repo. Railway has some starter applications which can be deployed on the go, and it also comes with a PostgreSQL as the default database manager.

In this article an explanation to some of the terminologies used here are not given, it is assumed that the reader must be familiar with them if not check out this article where I explain these terminologies in details.

With that much said let us dive in, using these steps i'll show you how to deploy your Django projects on railway.

Ensure you already have a Railway account if don't you can sign-up here, A GitHub account and the project you want to deploy is been cloned once you’re done these 3 basic things follow these steps.

Step 1.
pip install gunicorn

Step 2.
pip freeze > requirements

Step 3.
Create a Procfile in your root folder and save the following lines of codes in it
web: gunicorn 'name-of-application.wsgi'
Note: A Procfile has no file extension

Step 4.
Create runtime.txt
Railway needs to know the version of python you used for your project, to know the version used type python --version in your terminal copy, paste and save the version inside your runtime.txt python -3.10.2

Step 5.
Next, we need to make some adjustments to our settings.py file
Look for the line that has

ALLOWED_HOST = [ ]

and change it to

ALLOWED_HOST = ['*']

Step 6.
Still on your settings.py file add the following lines of codes in your static section, so your static files can be properly rendered

STATICFILES_DIRS = [os.path.join(BASE_DIR, 'static')]
STATIC_ROOT =os.path.join(BASE_DIR, 'staticfiles')

Step 10.
Lastly, we collect our static files into one folder using the following command
python manage.py collectstatic

Next, we push our project to our Github account where we’ll be deploying our project from. Use the following git syntax to add, commit and push your code.
git status
git add .
git commit -m ‘customized commit message’
git push

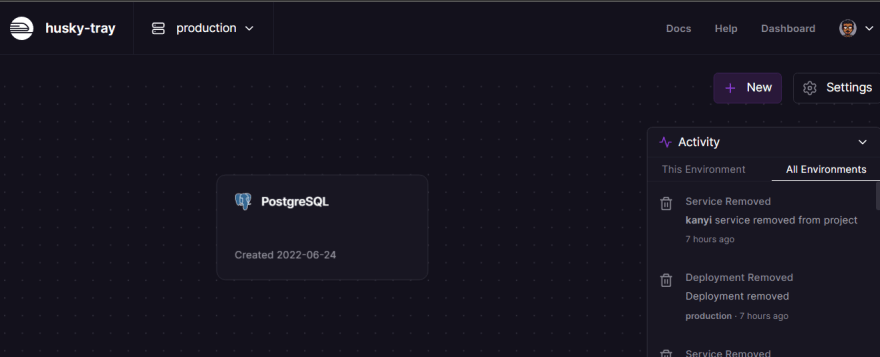
Now, we move to our railway app account that was created
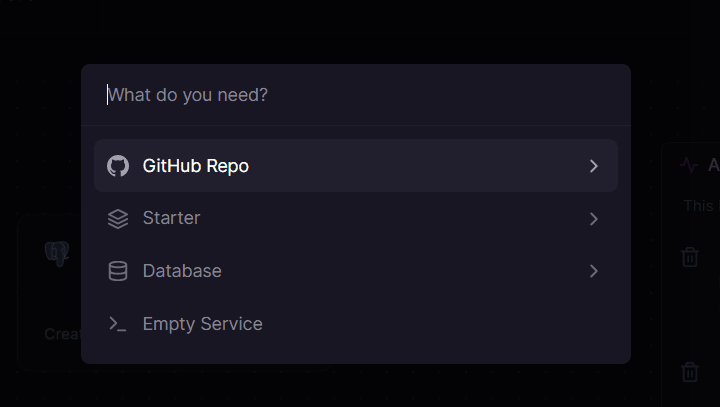
Click + New

How to add new project

GitHub Repo

Select your GitHub repo

select a repo and Railway pack helps you build and automatically deploy your project using nixpacks you can see the build status as it is been built, once that has been done,

Build status

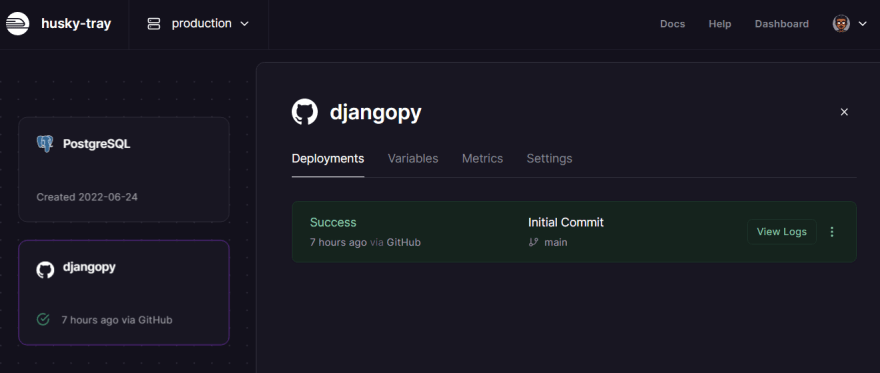
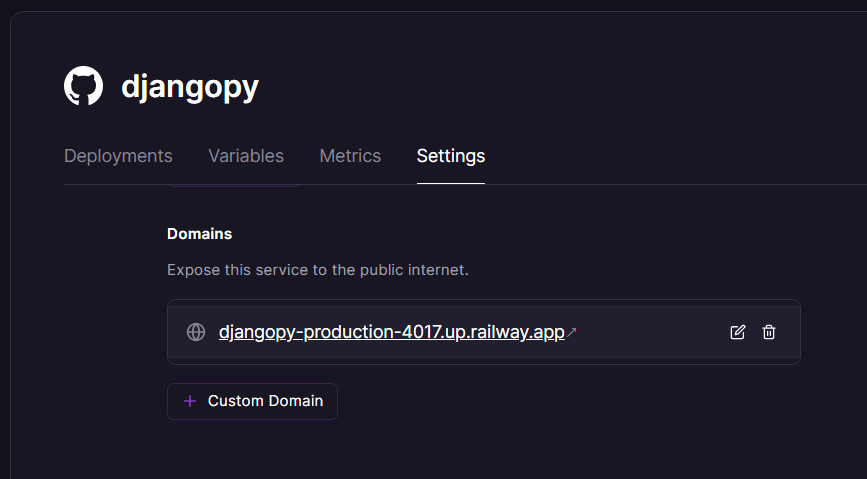
click on your project go to the settings tab

Settings tab

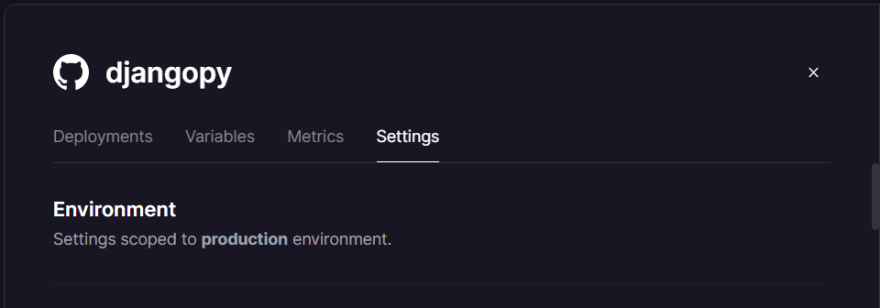
under domain click generate domain

Generate domain

a customized link to your deployed app is been created you can visit it by clicking on it.

View generated domain

VOILA!!!
Your project has been deployed.
CONGRATULATIONS!!!

Comments

Popular posts from this blog

Connect and Configure MongoDB in Django Project

  Django, a high-level Python web framework, is well-known for its robustness and versatility. While Django natively supports popular databases like PostgreSQL and MySQL, you may want to integrate a NoSQL database like MongoDB for specific use cases. MongoDB’s flexibility and scalability make it an excellent choice for handling unstructured data. In this blog, we will walk you through the process of connecting MongoDB to a Django project, enabling you to harness the power of NoSQL in your web applications. Prerequisites: Before we begin, ensure you have the following prerequisites in place: Django installed on your system. MongoDB database server installed and running. Basic familiarity with Django project structure and database concepts. Virtual Environment, this is optional but recommended. You check our blog  here . Note:  For this tutorial, we are using our basic  skeleton project  for Django. You can also download the project from  here . Step 1: Insta...

How to host Django Application in AWS using gunicorn & nginx in Production

in this post, we will see how to use    nginx  with    gunicorn  to serve    django     applications  in production.  Django is a very powerful web framework and ships with a server which is able to facilitate development. This development server is not scalable and is not suited for production. Hence we need to configure gunicorn to get better scalability and nginx can be used as a reverse proxy and as a web server to serve static files. Let's get started  Step 1 - Installing python and nginx Let's update the server's package index using the command below: sudo apt update Copy sudo apt install python3-pip python3-dev nginx Copy This will install python, pip and nginx server Step 2 - Creating a python virtual environment  sudo pip3 install virtualenv Copy This will install a virtual environment package in python. Let's create a project directory to host our Django application and create a virtual environment inside th...

Mongodb-CheatSheet

  All MongoDb commands you will ever need (MongoDb Cheatsheet) In this post, we will see a comprehensive list of all the    MongoDB  commands you will ever need as a MongoDB beginner. This list covers almost all the most used commands in MongoDB. I will assume that you are working inside a collection named 'comments' on a MongoDB    database  of your choice 1. Database Commands View all databases show dbs Copy Create a new or switch databases  use dbName Copy View current Database db Copy Delete Database  db . dropDatabase ( ) Copy 2. Collection Commands Show Collections show collections Copy Create a collection named 'comments' db . createCollection ( 'comments' ) Copy Drop a collection named 'comments' db . comments . drop ( ) Copy 3. Row(Document) Commands Show all Rows in a Collection  db . comments . find ( ) Copy Show all Rows in a Collection (Prettified) db . comments . find ( ) . pretty ( ) Copy Find the first row matching the ob...